
LEDMall Blog
NovaStar VX1000 Scaling: Fit Video to an LED Canvas
Nov
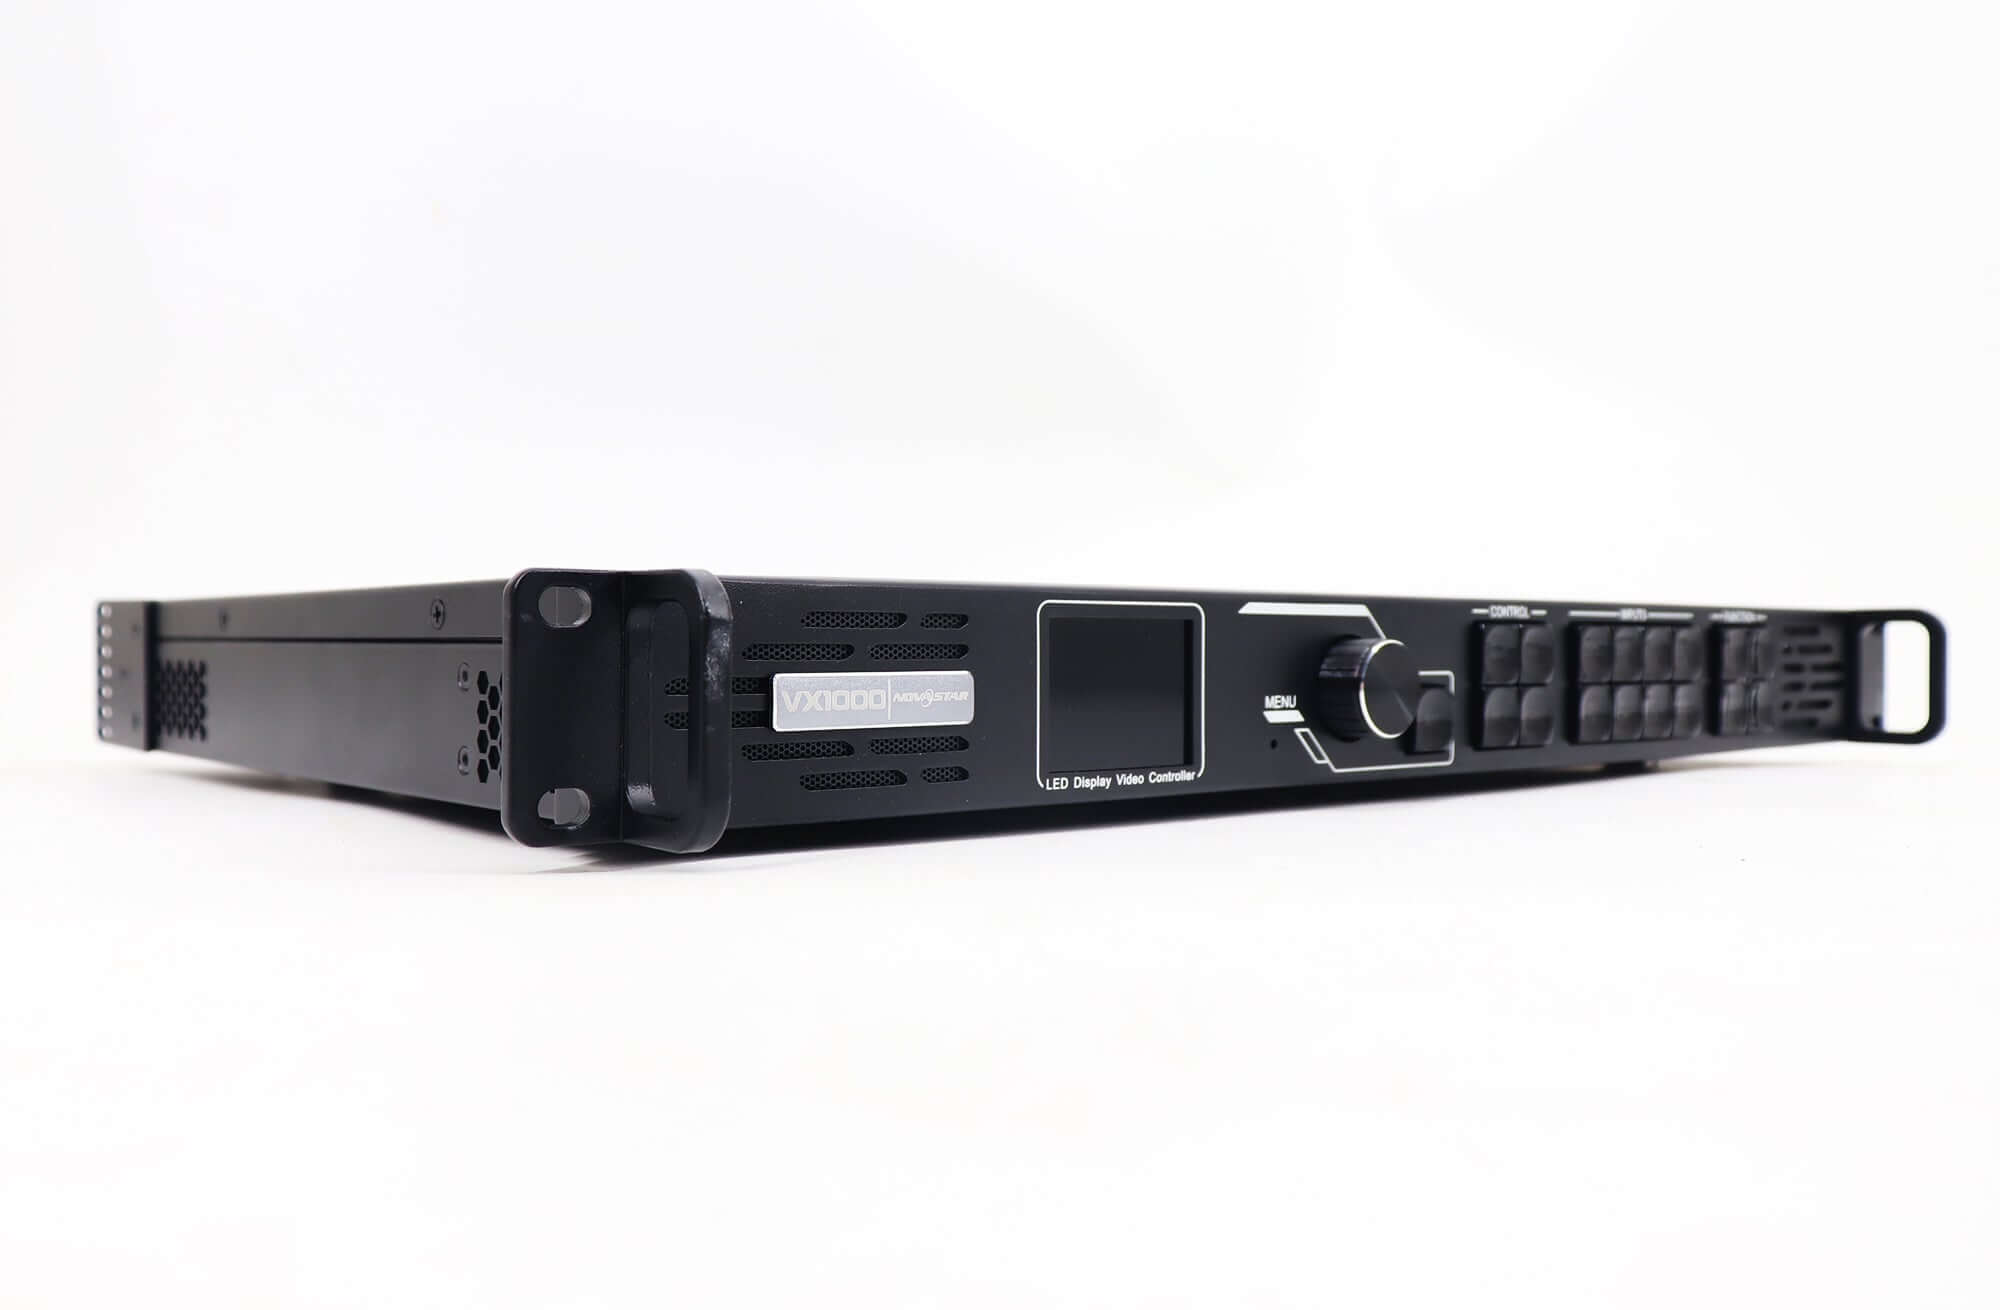
NovaStar VX1000 scaling changes the size of a video layer on the configured LED screen. It does not add physical pixels or repair an incorrect cabinet map. First establish the screen’s actual pixel dimensions, then decide whether the source should fill that area, remain at its original pixel size or use a custom layer rectangle.
This explanation is for an AV integrator adapting content for an existing VX1000 installation. LED Mall identifies the classic VX1000 as discontinued and lists VX1000 Pro separately. The examples below concern the classic model; they are not a claim that the Pro uses identical controls or input limits.
The layer terminology follows NovaStar’s VX1000 user manual V1.5.0. Input-format references use LED Mall’s retained V1.0.1-based specification table. Confirm the installed firmware and applicable document before using a particular setting.
Separate Input, Canvas and Layer Dimensions
The input resolution describes the arriving video, the screen canvas describes the LED display, and the layer rectangle describes where the picture is drawn. Keep those three dimensions on separate lines in the project record.
A computer might send 1920 × 1080 pixels to a screen containing 1280 × 512 physical pixels. Those values need not match, but the system needs an agreed way to translate between them. Calling both values “screen resolution” makes a content problem difficult to distinguish from a hardware problem.
For NovaStar VX1000 scaling, start with the accepted cabinet layout and the actual module resolution. Record the total canvas width and height in pixels. A wall’s measurements in feet or meters do not establish those values without the cabinet and module information.
Use the cabinet-based receiver quantity guide for the separate hardware-planning question. A correctly sized layer does not validate receiver loading, data routing or the allocation of cabinets to Ethernet outputs.
What NovaStar VX1000 Scaling Modes Mean
The documented layer choices are Full Screen, Pixel to Pixel and Custom. Select the behavior that matches the intended composition, rather than treating every choice as an automatic aspect-ratio correction.
In the V1.5.0 manual, Full Screen makes the layer fill the screen. Pixel to Pixel keeps the original size of the input or cropped source. Custom uses a selected layer size; horizontal and vertical positions determine where that rectangle starts.
These are layer settings. They are not three different physical screen sizes, and changing between them should not be used to conceal an unexplained cabinet layout. If part of the picture is missing, identify whether it is outside the layer, outside the canvas or already excluded by an input crop.
The same manual describes the front-panel SCALE shortcut as applying the full-screen function to the lowest-priority layer. On a multilayer composition, identify the affected layer before using the shortcut. Do not assume that whichever image attracts attention is necessarily its target.
When recording NovaStar VX1000 scaling settings, include the selected source, any crop rectangle, the layer size and its starting position. A photograph of the front panel is useful for identifying the unit, but it is not a complete record of that composition.
Fit a 16:9 Source to a Wide LED Canvas
Different source and canvas shapes require a content decision. Filling every LED pixel, preserving the entire source and preserving proportions cannot always be achieved together.
Consider a hypothetical 1920 × 1080 source and a 1280 × 512 LED canvas. The source is 16:9; the canvas is 2.5:1. This example calculates image geometry only. It is not a tested VX1000 preset or an approved receiver and port design.
| Content choice | Geometry | Tradeoff to approve |
|---|---|---|
| Stretch the complete source | 1920 × 1080 becomes 1280 × 512 using different horizontal and vertical scale factors | All source content remains, but its proportions change |
| Fit the whole source proportionally | At 512 pixels high, the picture is approximately 910 pixels wide | About 370 canvas pixels remain across the two sides; specify the surrounding background |
| Crop, then scale proportionally | A 1920 × 768 source region scales by two-thirds to 1280 × 512 | 312 source rows are excluded; a centered crop removes 156 from each end vertically |
The first choice uses a horizontal scale factor of two-thirds and a vertical factor of 512/1080. Because those factors differ, a circle in the source will not retain its proportions. Coverage alone is therefore an incomplete acceptance criterion.
The second choice retains the entire frame. Its approximately 910-pixel picture width leaves about 185 pixels on each side when centered. These figures are rounded planning values; confirm the actual integer dimensions and placement used by the device.
The third choice has exact geometry: 1920 × 768 multiplied by two-thirds gives 1280 × 512. However, a logo or subtitle in the discarded rows will disappear. Ask the content designer to approve the retained region before implementing the crop.
Use this arithmetic to specify NovaStar VX1000 scaling requirements before touching the controls. “Show the whole slide with correct proportions” and “fill the entire display” are different instructions for this canvas. Naming the tradeoff avoids repeated adjustments that never satisfy both people reviewing the image.
Check the Source Format Before NovaStar VX1000 Scaling
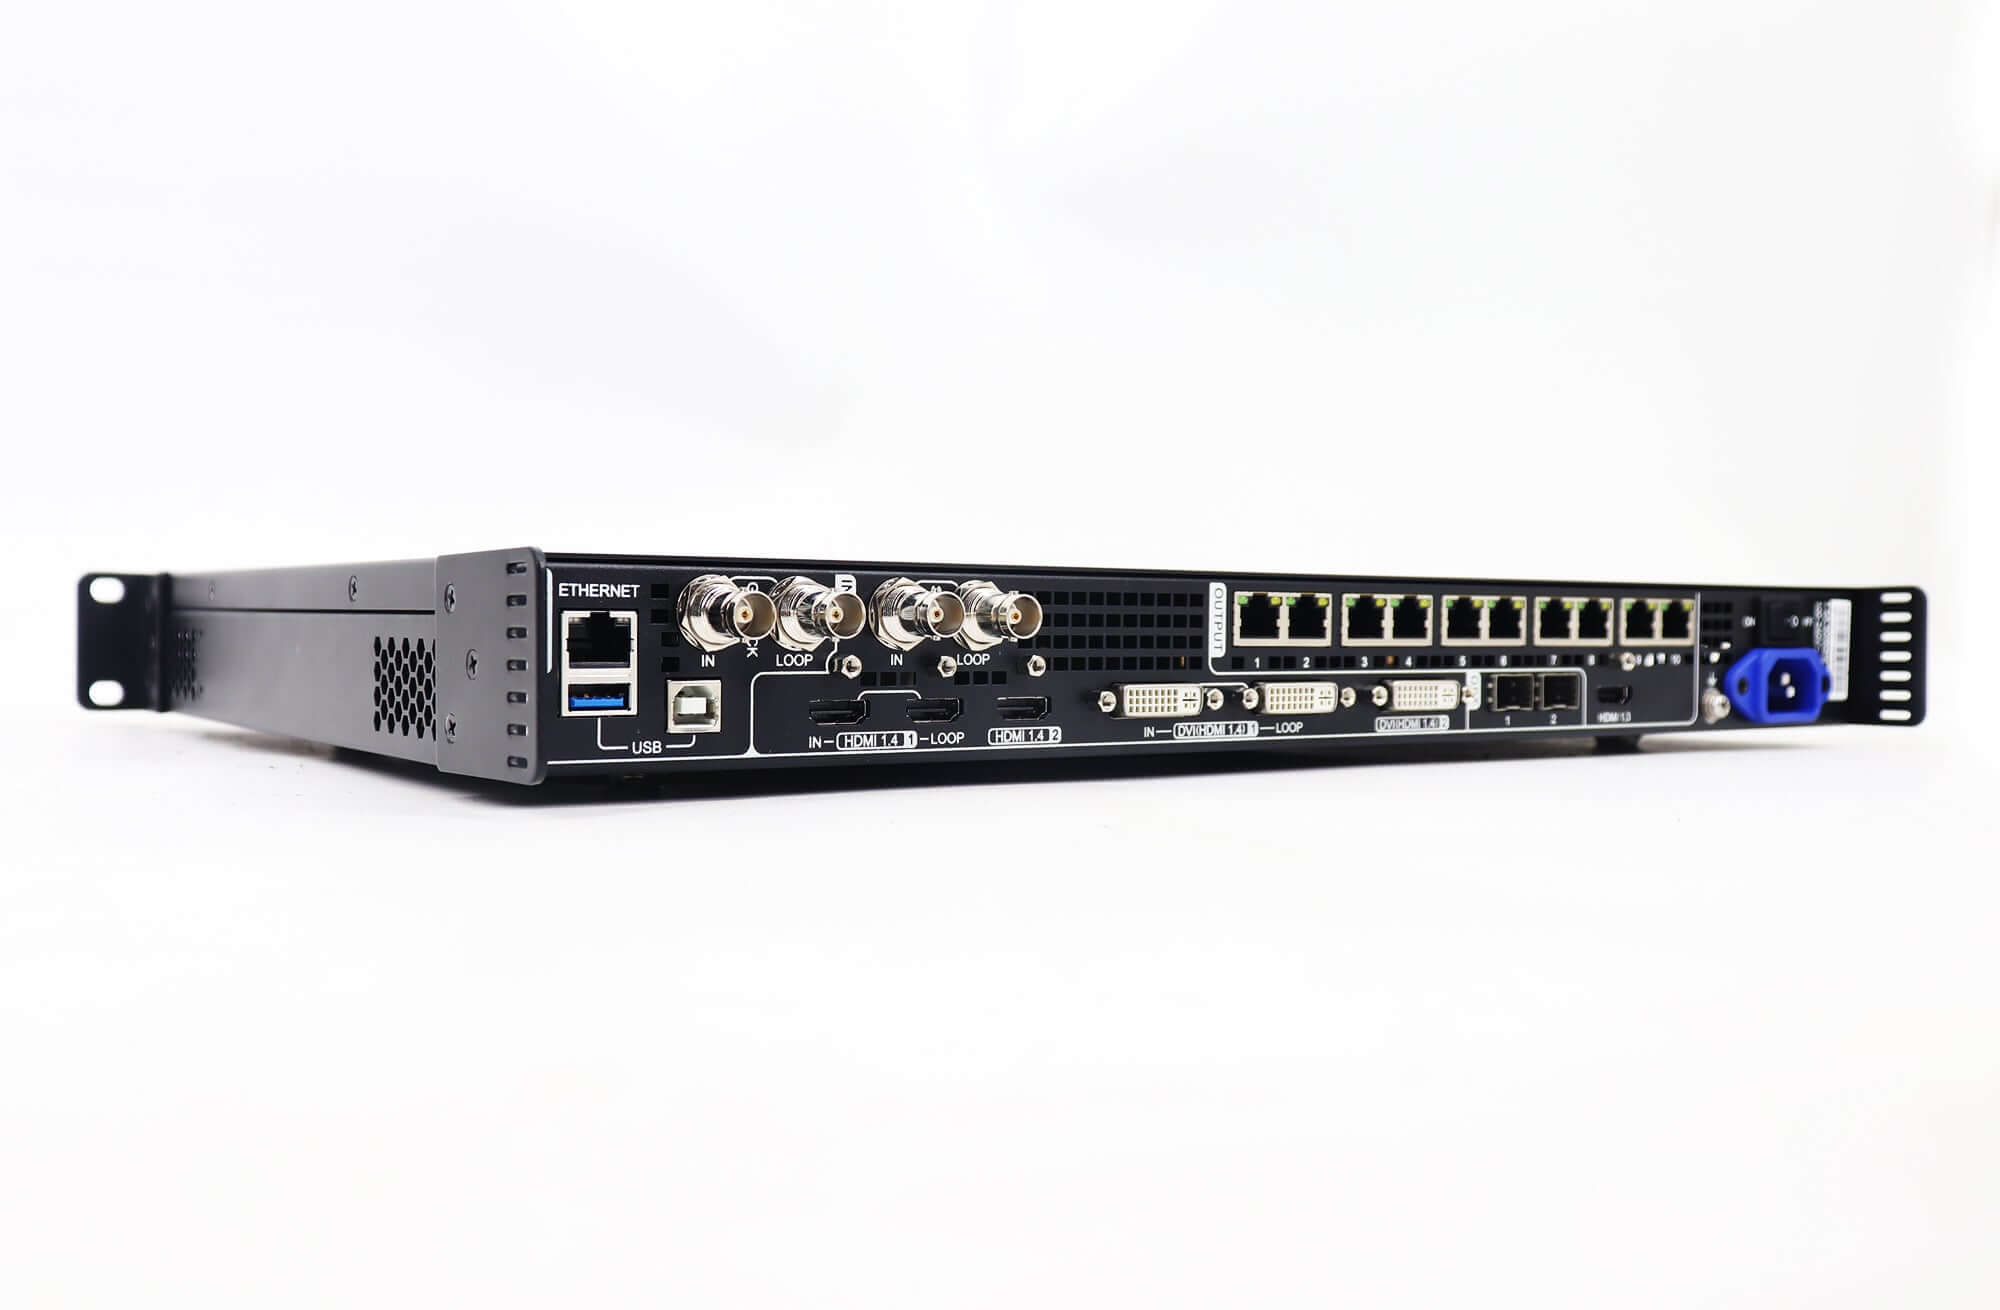
A layer rectangle does not establish that the controller accepts the incoming signal. Verify the source connector, resolution and frame rate before diagnosing a scaling problem.
The retained table on the classic VX1000 product and documentation page lists HDMI/DVI input up to 3840 × 1080 at 60 Hz or 3840 × 2160 at 30 Hz. These are different format conditions; “supports 4K” is not a sufficient source specification.
Likewise, its 6.5-million-pixel loading figure is not a promise of unlimited canvas dimensions. The listed maximum width and height are separate constraints, and the full design must satisfy its total capacity and the applicable output arrangement.
NovaStar VX1000 scaling cannot compensate for an unsupported source format. Record the signal actually reported by the controller, rather than relying only on the computer’s desktop-setting label. Also record the unit’s working mode and active layer when comparing the observed behavior with the manual.
If the picture is correctly positioned but text remains difficult to read, review the source design and the number of physical pixels available for that text. Enlarging a low-resolution logo changes its displayed size; it does not recover original detail that was absent from the file.
Approve the Composition Before Saving a Preset
Accept the visible composition with representative content before treating the setup as finished. A filled screen can still contain distorted objects or missing information.
For a NovaStar VX1000 scaling check, use a source that includes a visible frame boundary, a circle, readable text and markers near the edges. The boundary helps reveal cropping, the circle reveals changed proportions, and the text tests whether the chosen presentation is usable.
Compare the result with the agreed table choice. If a complete slide must remain visible, confirm all its edges. If cropping is intentional, confirm the retained region and the treatment of captions, logos and other critical material. Use the actual event or signage content as a final check.
Keep the accepted source format, canvas dimensions, crop, layer rectangle and position with the preset record. After recalling the intended preset, verify the same composition again. Document the result rather than assuming that a successful save means every relevant source and display setting has been accepted.
Frequently Asked Questions
Does NovaStar VX1000 scaling increase the screen’s physical resolution?
No. It changes how video occupies the available canvas. More physical detail requires a display design with the necessary LED pixels; enlarging a layer does not create them.
Is fitting the whole picture the same as the Full Screen setting?
Do not treat those phrases as interchangeable instructions. The manual defines Full Screen by coverage. A requirement to preserve the entire source and its proportions must also account for the source and canvas shapes.
Do three layers multiply the controller’s loading capacity?
No. Layers describe the composition placed on the output canvas. Their presence does not multiply the hardware’s specified pixel-loading budget or remove its width, height and output constraints.
Can I apply this guide unchanged to VX1000 Pro?
No. VX1000 Pro is a separate model. Use its own documentation for input formats, layer resources and controls. Similar naming does not establish identical settings or a complete replacement plan.
Bring the Pixel Layout and Content Requirement
For help planning NovaStar VX1000 scaling, provide the exact controller model, source format, canvas pixels and the required treatment of aspect ratio. Include whether the whole source must remain visible or an approved crop is acceptable. For a new or replacement unit, review the VX1000 Pro listing separately, then ask LED Mall to check the controller and content requirements.