
Blog di LEDMall
Lista di controllo per l'installazione di schermi LED per esterni
Luglio
Before ordering a permanent outdoor LED screen, get the cabinet mounting drawing and mark three things on the site plan: what will carry the screen, where rainwater will go, and how a technician will reach the parts that need replacing. A cabinet can fit the available wall space and still leave too little room to open a service door.
Give the structural engineer the cabinet layout, mounting height and equipment weights. Give the electrical contractor the supplier’s power requirements and proposed cable entry locations. Use the same drawing revision when you order the frame, cabinets and trim.
1. Site survey and foundation design
(1) Identify what carries the load
For a freestanding sign, the engineer needs the ground conditions, wind exposure and total weight of the cabinets, frame and cladding. For a wall-mounted screen, identify the building structure behind the finish. A dimensioned photo helps place the screen, but the engineer also needs to know what the brackets will fasten to.
(2) Check anchors before the concrete pour
Compare the anchor template with the steel base plate drawing while the bolts can still be positioned. Check their spacing, orientation and projection above the finished concrete. Schedule frame erection after the engineer has confirmed that the foundation meets the project’s loading criteria.
(3) Plan power and grounding while the site is open
Before backfilling or closing the wall, have the electrical contractor mark the cable routes, grounding and bonding connections, and any surge or lightning protection the design calls for. Record where these connections run so the crew can locate them after the finish goes on.
2. Steel frame and cabinet access
(1) Match the frame to the cabinet drawing
Check the first row of cabinet fixing points against the steelwork drawing before fabrication. Include the trim and any service platform in the engineer’s review. If the proposed anchors differ from the approved detail, refer the change to the engineer before drilling. Screen width alone does not tell you which anchor will suit the wall.
(2) Check which parts come out from each side
Ask the supplier to show how a technician removes a module, a power supply and a receiving card from the selected cabinet. A front-removable LED module answers only the first of those questions. On the service drawing, mark door swing, tool clearance and the space needed to unplug cables.
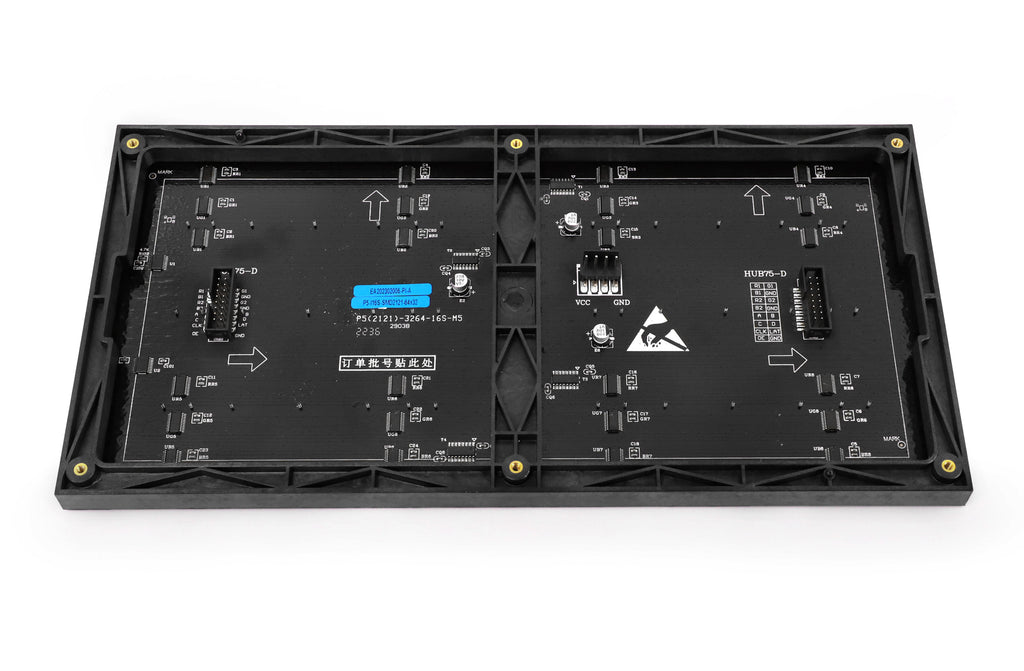
The power and data connections are on the back of the module shown above. Allow room for the connector as well as the cable when checking the removal path.
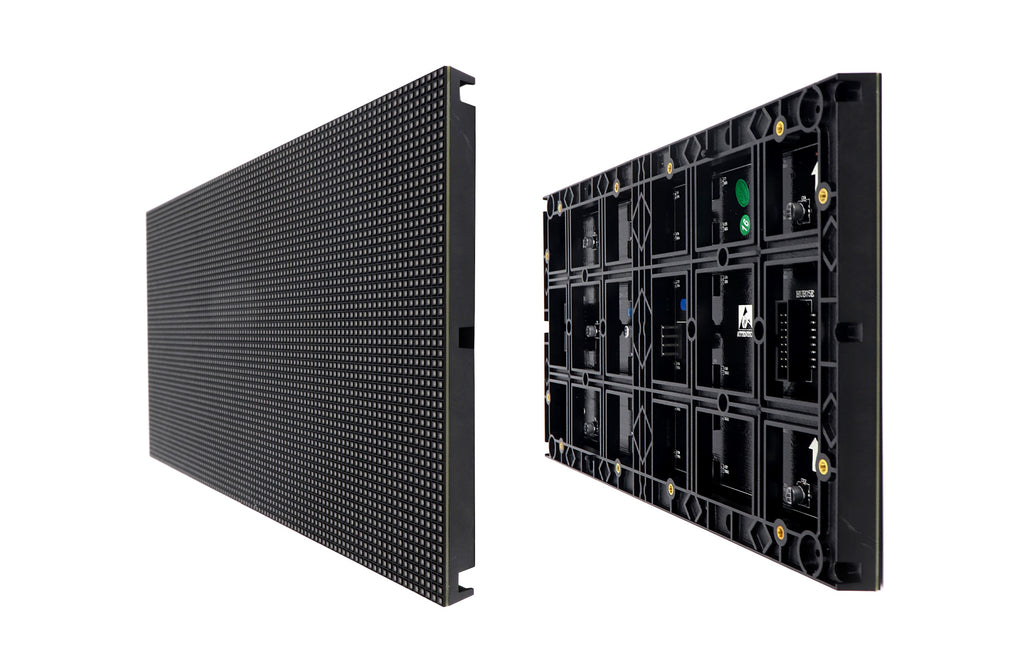
The second photo shows the face and back of an indoor module. For an outdoor project, use the selected outdoor cabinet’s drawings to confirm its fixings, seals and service clearances.
3. Exterior cladding, drainage and ventilation
(1) Choose trim that can be serviced
For stainless steel or formed aluminum trim, agree on the material, finish and fixing details before fabrication. For aluminum composite panels, check the specified panel and core against the project’s exterior-use and fire requirements. Mark which panels must come off for repairs and where their fasteners will remain accessible.
(2) Trace the paths for water and air
Start at the top edge and follow runoff past joints, access doors and cable entries. Check where trapped water can drain. Use the seals and entry fittings specified for the cabinet, and keep its designed drain openings clear when fitting the bottom trim.
On the same drawing, mark any air inlets and outlets shown in the cabinet manual. A trim panel that sheds rain can also obstruct an exhaust. Verify the specified clearances with the trim in its final position.
4. Inspection and handover checklist
Collect inspection records as each part of the installation is completed. Once the cladding is in place, a photo taken before closure may be the owner’s clearest record of a concealed cable entry or bracket.
| Articolo | Controllo del sito | Registro da conservare |
|---|---|---|
| Foundation or wall | Compare the installed anchors or brackets with the approved layout. | Inspection record and approval to load the support. |
| Telaio in acciaio | Check alignment, cabinet fixing points and the protective finish at joints. | Frame inspection and approved changes to the drawing. |
| Lavoro elettrico | Ask the electrical contractor to identify isolation points and verify the supply and protective connections. | Labeled circuit schedule and electrical test results. |
| Protezione dalle intemperie | Trace runoff past the top trim, door seals and cable entries to the drain outlets. | As-built details and photos before the trim goes on. |
| Accesso al servizio | Have the service team demonstrate the removal route for a module and a power supply. | Service instructions and a drawing showing access points. |
| Funzionamento del display | Show a labeled grid across the whole screen, then play sample content and check the agreed brightness settings. | Cabinet map, controller configuration backup and dated test log. |
For replacement parts, compare the cabinet’s part numbers and electrical requirements with the moduli LED per esterni and Alimentatori LED. If a label is difficult to identify, send a photo of it and the cabinet model when you Contatta LED-Mall.
5. Domande frequenti
(1) Can I mount an outdoor LED screen on an existing wall?
Yes, if a structural engineer verifies that the wall and its connections can carry the proposed installation under the site’s design loads. Bring the cabinet layout and any available building drawings to the site survey so the engineer can identify suitable attachment points.
(2) How soon after a concrete pour can the steel frame go up?
Ask for the foundation’s release for loading before booking the lift. The date depends on the strength required by the design, the concrete’s strength development and the project’s inspection process. A fixed number of days is an unreliable basis for scheduling.
(3) How much space should I leave behind a front-service LED screen?
Use the clearance on the installation drawing for your cabinet model. Check what projects furthest behind the cabinet, including plugs, cable bends and any exhaust hood. Confirm whether the power supply and receiving card can also be removed from the front before choosing a shallow wall recess.
(4) Does a cabinet’s IP rating cover the finished installation?
The rating applies to the enclosure and conditions identified by the manufacturer. Check which faces it covers and what fittings or closed covers it requires. Inspect the installed cable entries and the joint between the screen and the building separately.
(5) How can I check that the cabinets are mapped in the right order?
Display a test image that labels every cabinet position by row and column. Compare the labels on the screen with the layout drawing, including the corners and the ends of rows. Once each label appears in the correct position and orientation, save the controller configuration with the handover records.